This is presently the only Doomlands blaster that I have purchased. I mainly purchased it for an integration I plan to do but first I figured to add it to my disassembly list. This is a rather straight forward blaster and isn't very difficult to dismantle.
On to the disassembly of the Lawbringer.
On to the disassembly of the Lawbringer.

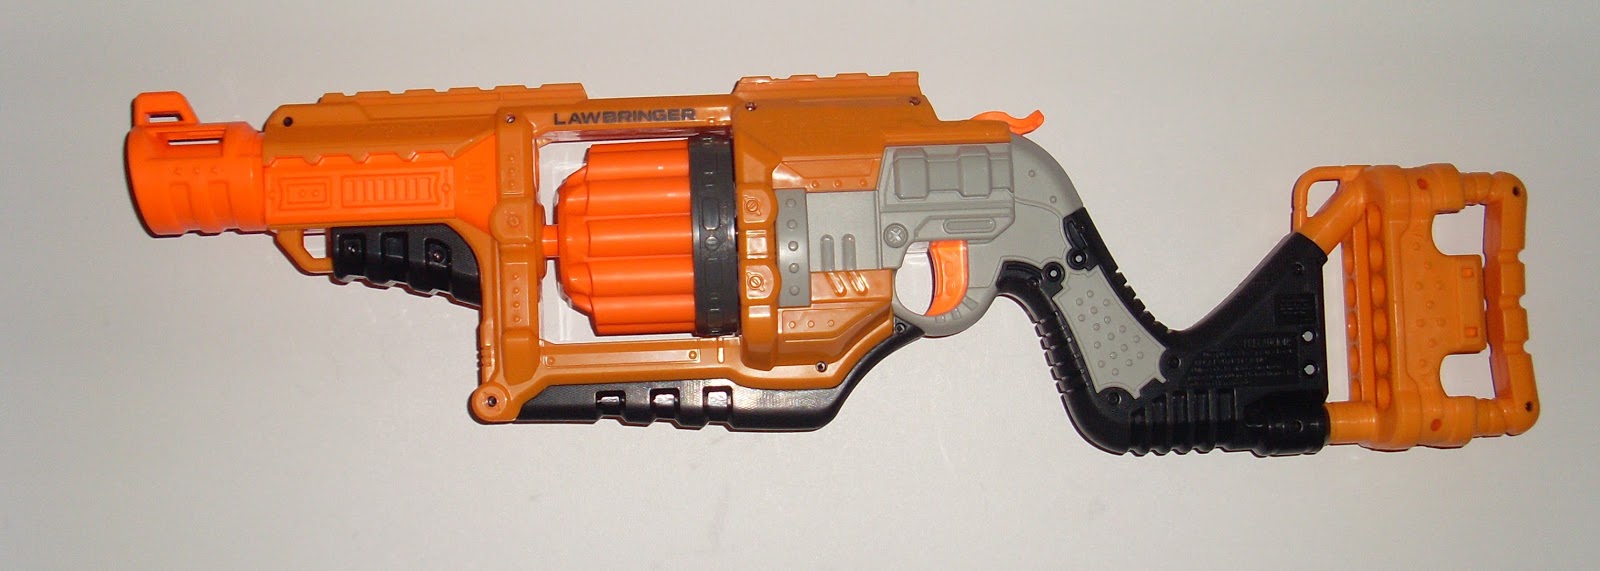
First off we have the blaster itself. As with most Nerf blasters, all of the screws are on the one side. There are 19 screws to remove, and all of them are the same.


Once you have all of the screws removed you can separate the shell halves and remove the dart storage stock. The stock itself comes apart quite easily if you wish, though the center dart holder piece can only fit in one way.


With the shell half and stock removed, you're left with the following;

To remove the barrel and front site/muzzle remove the one screw at the bottom of the assembly.

With the screw removed, the barrel and muzzle can be removed and separated. Note that the barrel is just a tube, as such it makes no difference which end is forwards or backwards.

I recommend removing the tactical rail attachment pieces at this point so they don't get lost. As with most newer blasters they do not have a spring (thankfully) and just pop out.


We now come to the turret assembly. To remove the turret first remove the two screws holding the plunger/trigger assembly. Once the screws are removed grab the turret at angle it upwards while bringing it forward and it should come out easily.


With the turret removed you can now remove the plunger/trigger assembly. Mine was quite tight at the base of the grip, but a slight pry with a screwdriver loosened the assembly enough to wiggle it out.

With the plunger removed, you should have the following;

Turning the plunger assembly over, I recommend removing the spring first as it is always under some compression and it may try to bounce away from you.

Note that the spring is flared at one end. This end sits at the base of the grip. The spring will not fit properly if the flared end is towards the top.

Carefully remove the three screws and grey plastic cover over the trigger assembly, taking care to not let anything pop out.

Remove the turret post. This post can only be inserted properly as it is below. Make sure to not install it upside down.

With the turret post removed;

Now carefully remove the plunger from the assembly. When doing so the trigger will spring forward. The plunger assembly hinges around a steel post, make sure to be careful so not to cause damage where the post attaches to the assembly. Once removed the assembly should look like this;

This is what you should be left with at this point;

Now flip the assembly over to remove the spring on the trigger return bar.

Remove the spring.

You can now wiggle the bar out of the assembly.

Carefully pull the trigger straight up so not to damage the post. Note the small hole under the hinge point. This is where the trigger spring is held on the trigger. The trigger spring can only be installed one way, so be sure not to damage it.

With the trigger and trigger spring removed, you should have this;

To remove the plunger, pull it backwards while wiggling gently. It should come out without much resistance.

Once fully disassembled, you should have the following;

There aren't any real locks to remove on this blaster as it doesn't have a magazine/clip or drop out cylinder. I don't recommend removing any of the internals as you won't get better stock performance out of it.
The internal assembly is the most frustrating thing to put back together, trying to get the trigger onto the spring without things falling apart is really tricky. I actually just went and glued the main spring to the plastic and the trigger rod into the socket, so that I could put it back together without things exploding.
ReplyDelete