The Nerf Rotofury is a pump action, 10 shot Mega blaster. The blaster primes on the pump, but to make the pump distance shorter the unit has a gearing system which can make disassembly and reassembly a little more difficult than some blasters, but I hope to make it easier for you.


To start with, this blaster has 3 different types of screws holding the shell together. Below I've circled in different colors what screw goes where. The green circles are for the long screws, the blue circles for the middle sized screws, and the pink circles for the short screws.


The two halves of the pump handle cannot be removed yet. As you can see in the pump's slide a silver screw inside of the shell. That screw is easiest to remove when the shell is apart.


This is what you should have with the shell halves apart.

You could now easily remove the pump handles if you wish.

Now I like to remove the sling mounts and barrel. They should all come out easily.


Now we're left with the following;

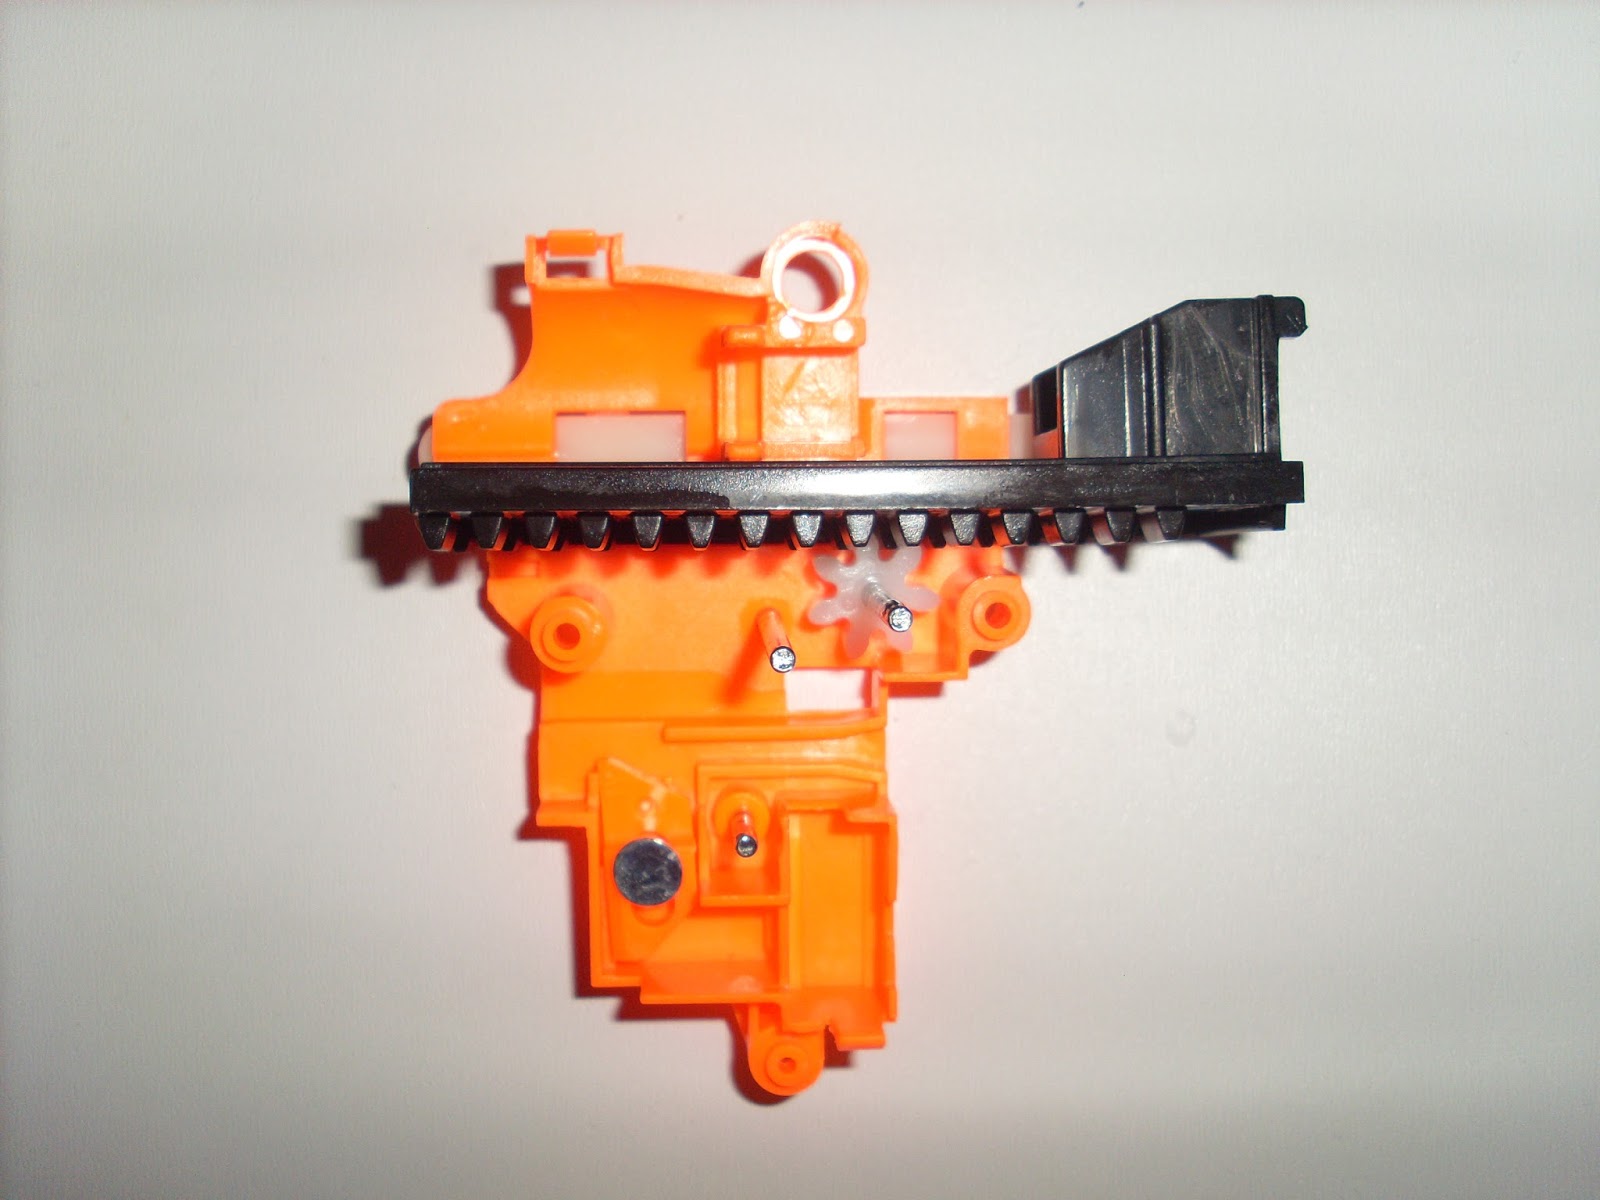
The inner workings should looks like this;

First, remove the trigger. It will come out very easily.


Remove this spring so that it doesn't get lost.


Remove the catch release lever.

Remove the two screws in the gear mechanism;

Remove the three screws in the rotation mechanism and the whole assembly will then come out.


The orange piece in the picture below is the rotation mechanism. It can be pulled downward easily.


The turret may be able to be removed, although on mine the tab below was very tight and was starting to break, so I left it. For the function of the blaster I would recommend leaving it.

The plunger assembly will look like this;

The gear mechanism is held together with two clips. One at the bottom, and one at the top.


Carefully lift off the gear mechanism cover and you will have the following;


Remove the latch from the mechanism.

Remove the orange tab below, be careful not to lose the spring.


Now remove the white lock. Again, be careful not to lose the spring.

Now remove the white spacer.

Remove the gear on the right first. It will come off easily.

Remove the left gear set. It should come out easily as well.


This gear set can come apart. There is no reason to do so as it is required for the blaster to function.

The mechanism should now look like this;

Remove the plunger tube from the mechanism.


To remove the plunger you need to remove the screw at the rear. When removing this screw, I recommend holding the spring slightly compressed with one hand. When the screw is removed, the white piece can be removed. It needs to be rotated slightly for the tab to come off. With the white tab removed you can remove the plunger. It may take some wiggling to get it to release from the gear sled.


To remove the gear sled, first take off the last gear then the sled.


Flip the remaining mechanism over to remove the remaining rod and spring. The rod should slip right out once the spring is removed.


With those components removed, the mechanism will look like this;

The entire blaster disassembled will give you this;

When reassembling the blaster, make sure to check the following;
When reinserting the plunger mechanism make sure that the white rods are connected properly. The rod above has a tab sticking down, the tab must be inserted into the hole on the lower rod as in the pictures below.


Also when reinserting the barrel, make sure the barrel guide is inserted properly. There is a small tab on the guide that must be inserted into the notch on the shell as you can see in the pictures below.


No comments:
Post a Comment