The Nerf Zombiestrike Doublestrike. This is by far my favourite pistol that Nerf has ever produced. It fits in my hand perfectly, is easily primed with one hand and is quite powerful for its small size. The grip is a little small for my hand, but otherwise it's a fantastic blaster.


Remove all of the screws, There are 7 screws in total.


With the screws removed, the shell can be separated.

The internals of the blaster should look like this;

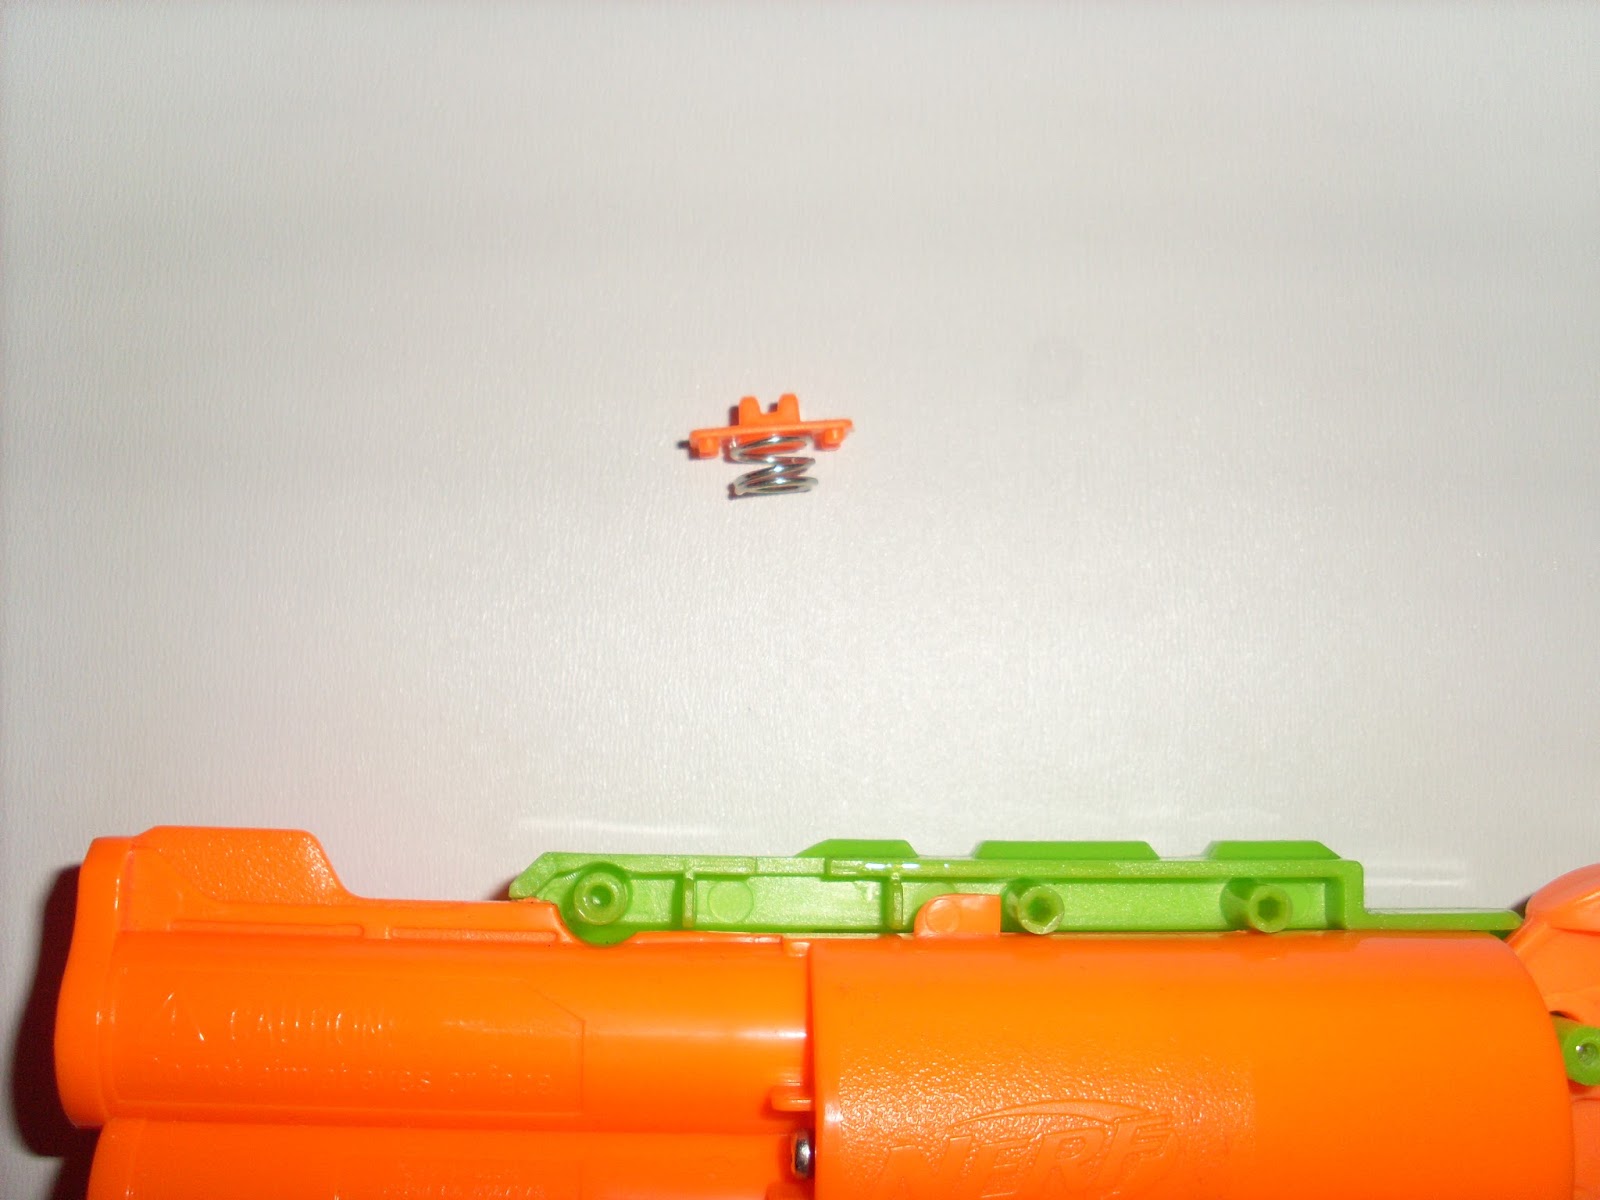
As always, I suggest removing the tactical rail detent piece so that it doesn't get lost.
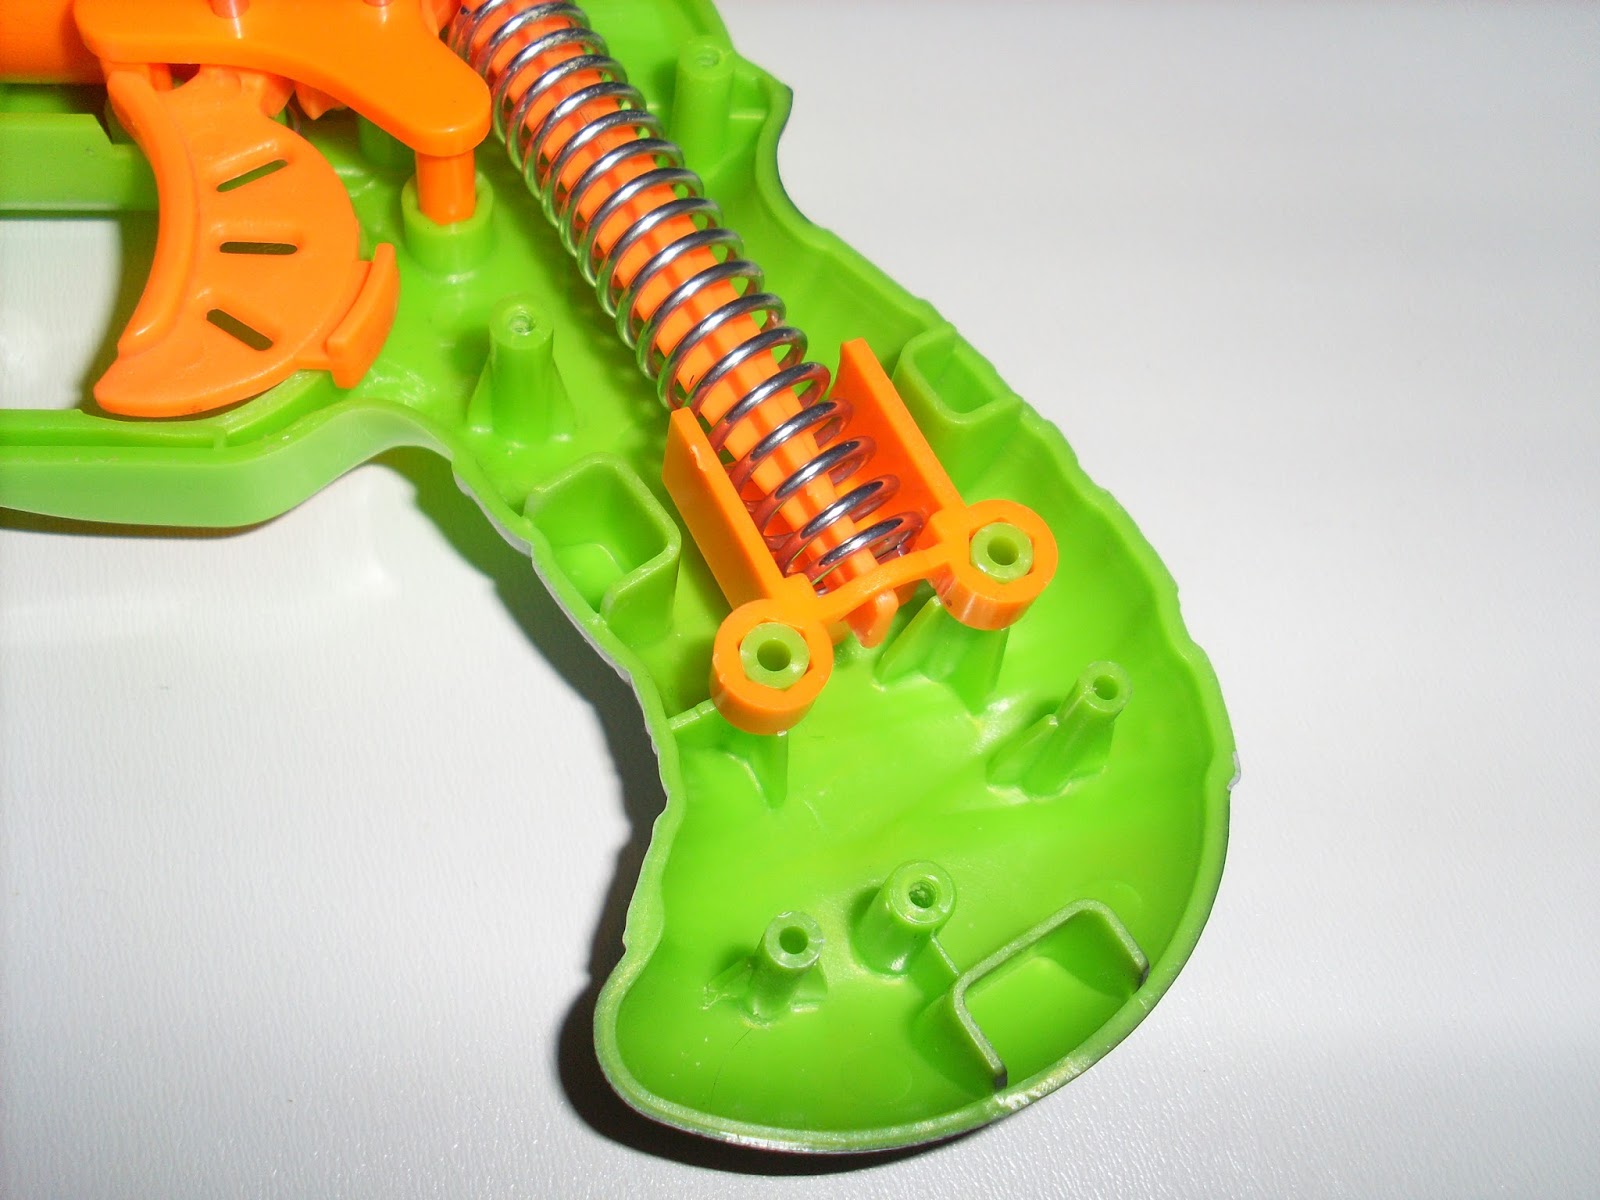
Carefully remove the spring rest. The spring is under compression even when the blaster is not primed. If you aren't careful it may extend and shoot the spring rest across the room (ask me how I found out).


The plunger tube can be removed easily from the plunger head.

Remove the trigger/plunger assembly hinge cover.

The plunger assembly can now be removed.

When reassembling make sure that the spring is inserted correctly. It can be tricky to seat it properly when reassembling and I found that a thin screwdriver helped greatly to get the spring back over the plastic post.

The two screws shown here help to hold the smart AR system in place. I removed them and tried to remove the AR but it wouldn't budge. I was not going to attempt to break it out as I like the blaster as is and removing the AR would allow both barrels to fire at once (albeit weakly). Unless you plan to upgrade the spring, or upgrade the power another way, I do not recommend removing the AR system.

The blaster fully disassembled should look like this;

No comments:
Post a Comment