The turret is supposed to rotate after firing, once the trigger is pulled. This is where mine had some issues. Roughly once every 5 or 6 shots, it wouldn't rotate. Instead it would make a loud bang as if it had no air restrictors. I attributed this to the rotation mech possibly skipping out of its grooves. I took the blaster apart about 5 times trying to figure out the problem only for the blaster to start working normally. I guess it must have been something out of alignment, though I'm not sure what.
In my experiments trying to solve the problem I found out something. Do not remove the small 'finger' that holds the turret in place until you release the trigger. If you do, the turret will start to rotate as soon as the blaster fires which caused many of my darts to veer left, and in some cases shot out completely sideways without going down the barrel.
Without further ado, on to the disassembly of the Nerf Accustrike Alphahawk.

First things first, if you've already inserted the priming arms you're going to have a fun time here (not really). You need to remove them. On the blaster above where the arms are inserted there is a small slot. If you take a thin screwdriver or similar tool (I used the flat head screwdriver on my Leatherman tool) and force it in the slot while pulling/wiggling the priming arm, it should pop out.
Once you have the arms out or if you never put them in, what I recommend is shaving a little bit of the plastic off to make them easier to remove in the future. As you can see in the picture below, I've already shaved off a little bit, You want to remove some of the plastic at the edge of the rectangular notch (the top in the picture).

Now that you have a blaster without priming arms, it should look like this;


Remove all of the screws. There are 15 large screws, and 5 shorter screws. The 5 shorter screws are located in the tactical rail screw holes.

With the blaster apart, you should now have;

I would suggest at this point to remove the front sight and the two tactical rail holder pieces so they don't get lost;


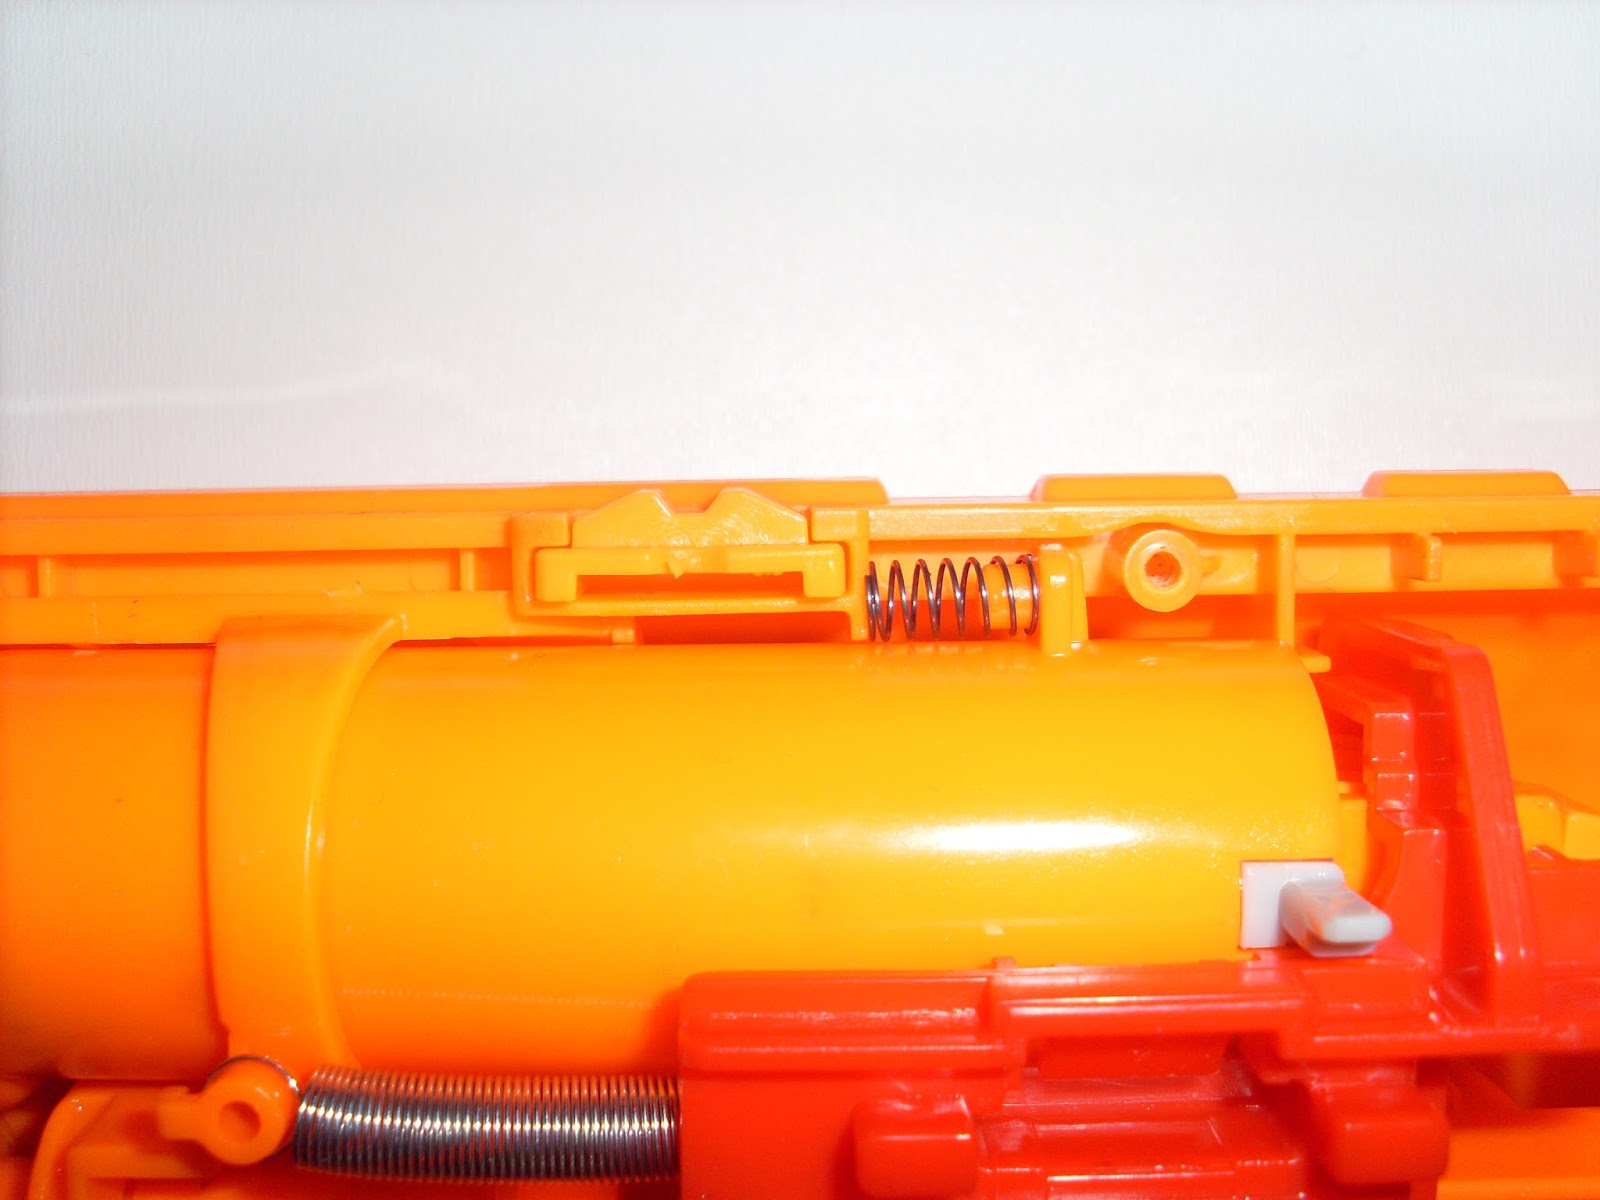
When removing the stock, be careful not to knock out the catch and spring. I did by mistake and it took ages to find the spring.

At this point, you can also remove the hand guard if you wish.

Now carefully remove the catch and spring.
After removing the catch and spring, remove the trigger assembly. It should come out easily.


As I've noted above, do NOT remove the small 'finger' on the left side of the trigger arm. You'll end up with terrible accuracy.
With the trigger removed, you can now remove the turret assembly. If you lift up the left side first, it should slide out without problem.


You now have only the plunger/rotation mechanism left to remove. It should come out as one piece.


The mechanism once removed looks like this;

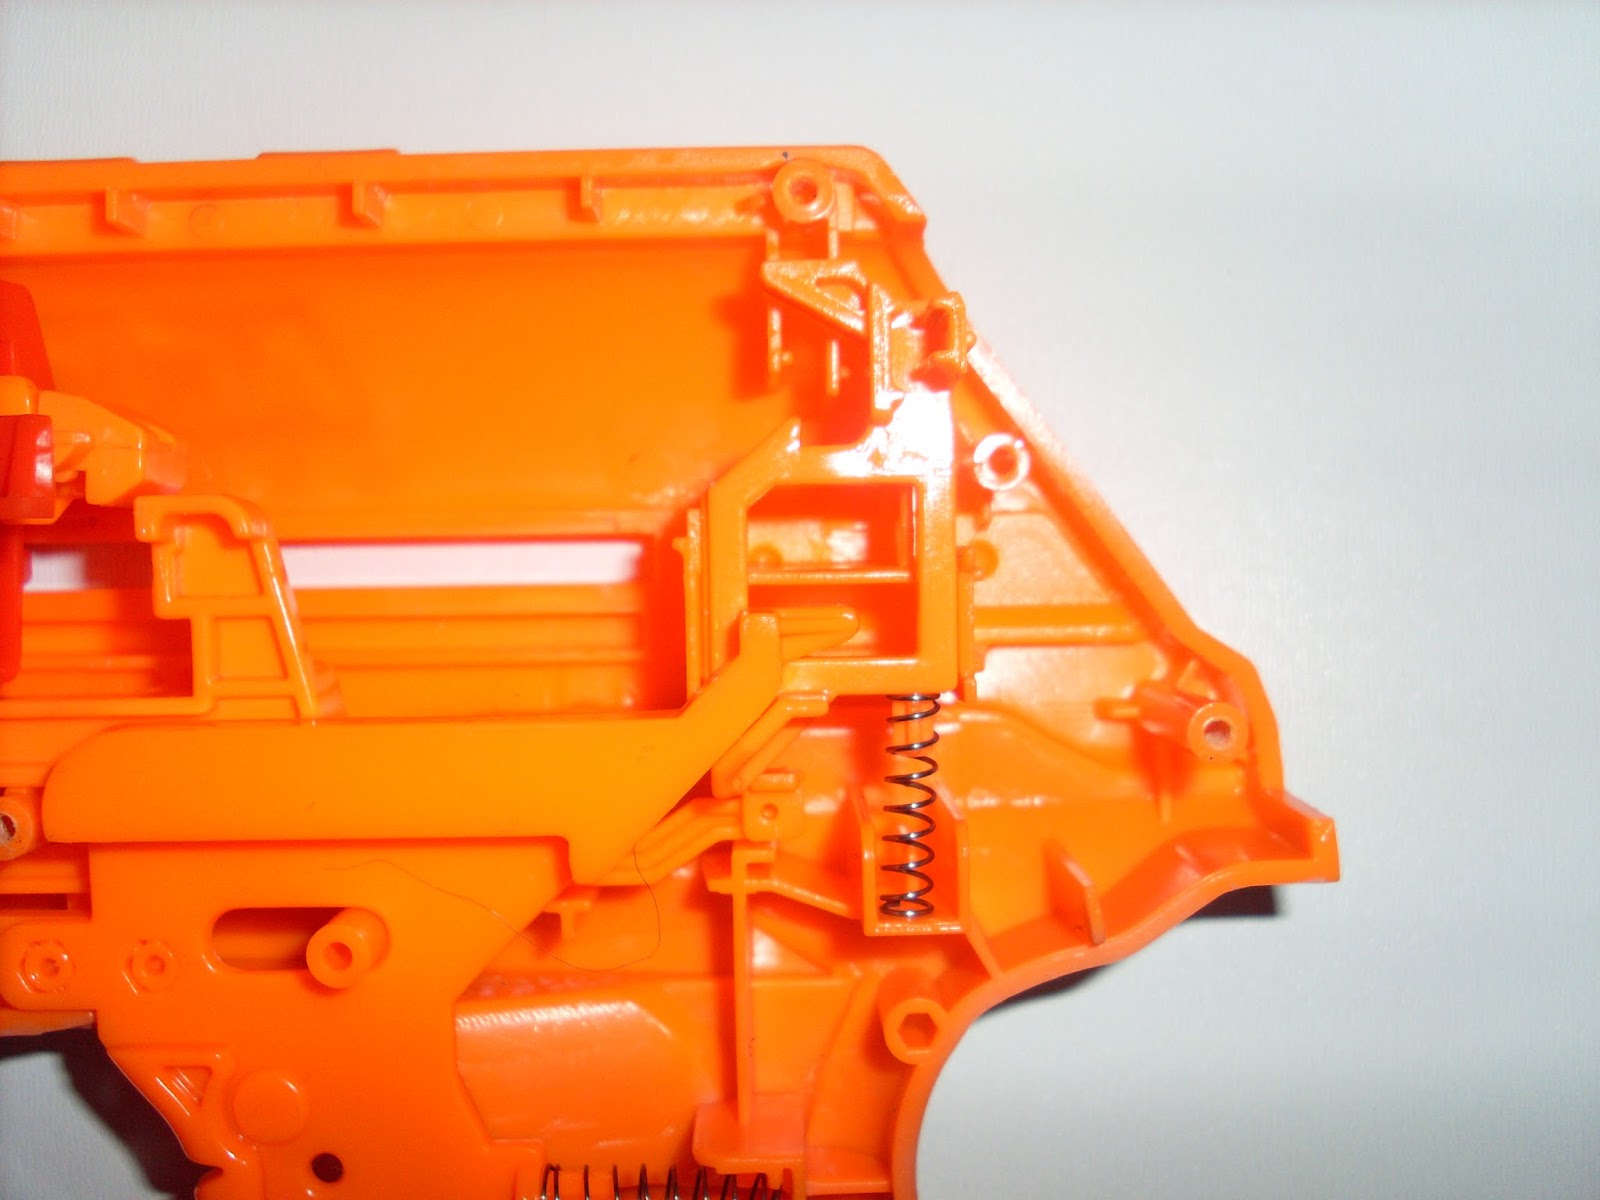
At this point you can remove the turret lock (which prevents pulling the trigger if the turret isn't locked in). I suggest removing the spring carefully first so you don't lose it. Then carefully bend the arm around the post holding it in. Also on this side, remove the spring from the red priming sled and the plunger return spring at the top of the plunger tube as well as the spring on the rotation mechanism.
Now turning the assembly over, we have;

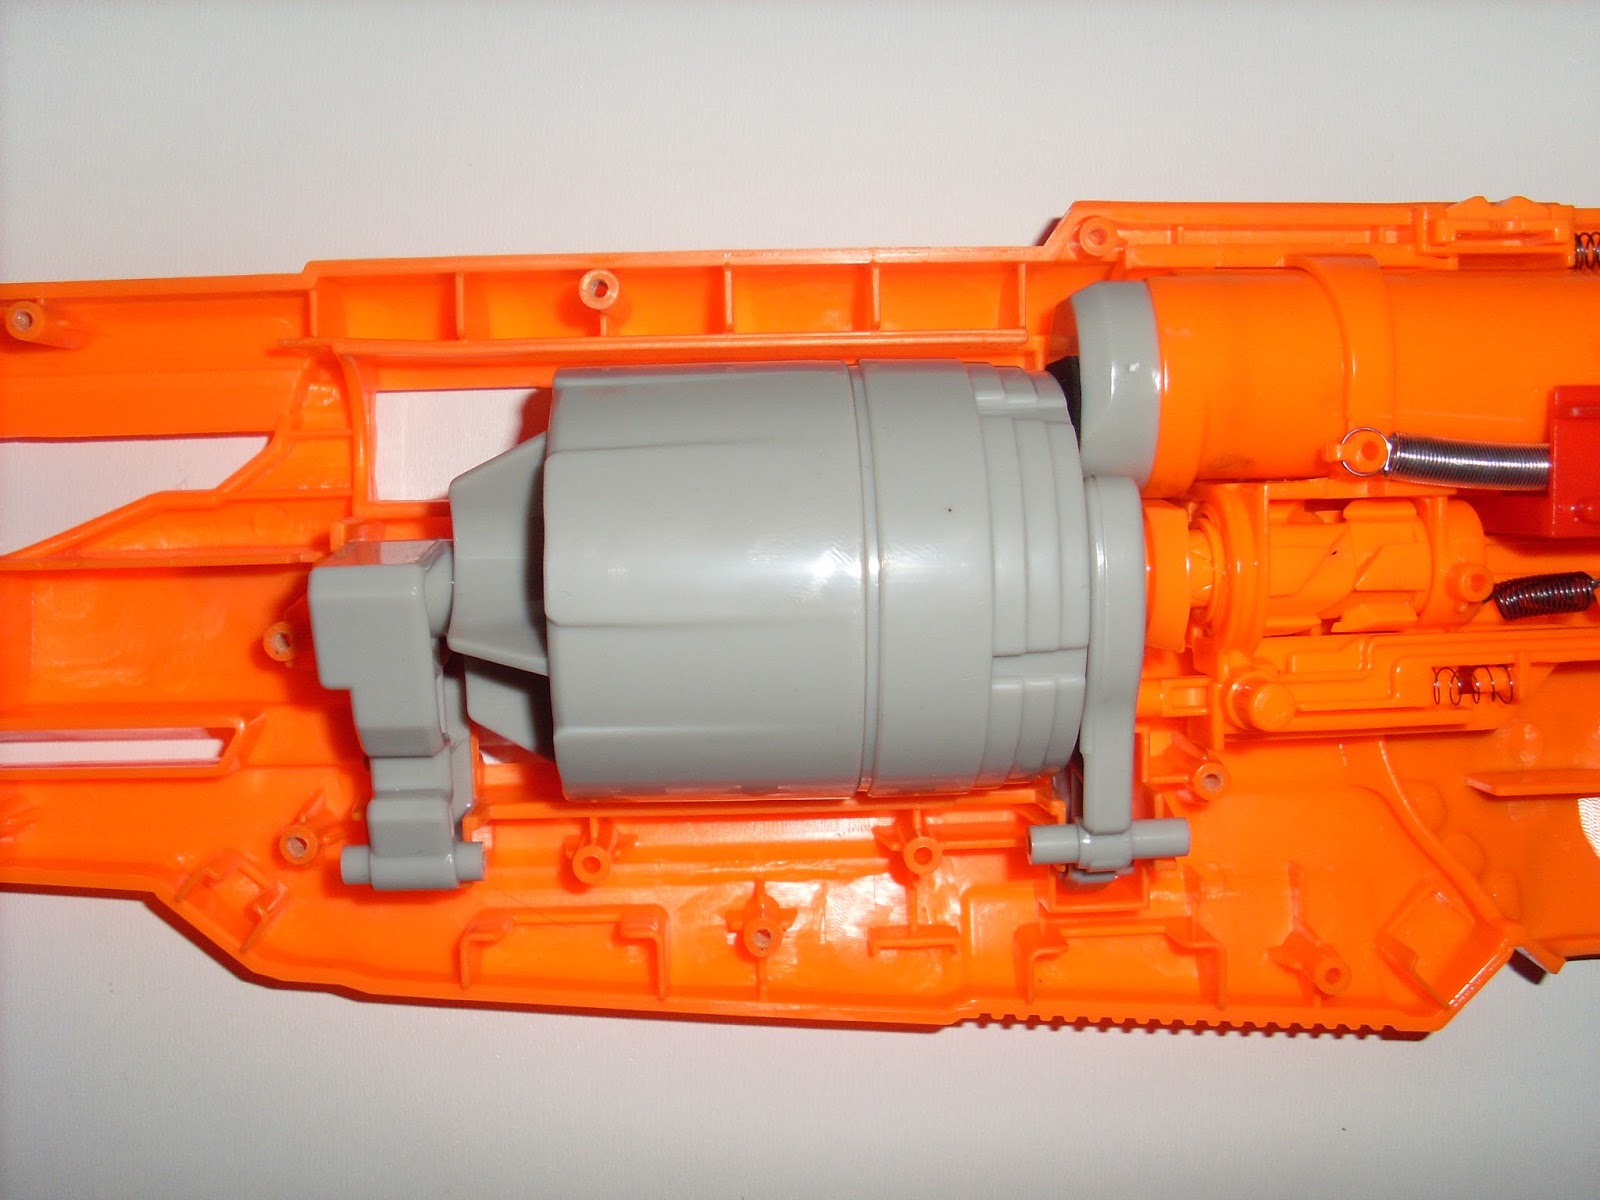
Remove the two screws holding the rotation mechanism cover. In doing this, the rotation arm will drop down like this;

You can now remove the rotation arm. It may take some wiggling to remove. Removing the arm will also allow the rotation gear to fall out. Note that there is a small plastic disc that must be inserted at the front of the rotation gear when reassembled. The plunger tube can now be removed as well. If rotated slightly it will come out of the assembly.
To remove the plunger from the priming sled, you must remove the end tab. To do so, carefully pry out one tab on either side and the tab will pop off allowing you to change springs if you wish. Though due to the spring being held in by just those two tabs, I'm not sure it can handle that strong of a spring without reinforcement.

When reassembling the spring end stop (grey piece) should only fit on one way.
Once the assembly is completely disassembled, you should have the following;

You now have a completely disassembled blaster that you can modify/paint or do whatever else you wish with.
My alpha hawk was having the same issue of not turning the turret after firing. I was unable to fix the issue short of disassembling the gun. Thanks for the guide
ReplyDeleteHow did u get the things off that cock the gun
Deletewhen you put the flathead in pull it towards you
DeleteI accidentally lost my catch spring. Gun still works fine just slightly harder to pull the trigger. Is that cause the spring would be primed bsck when thr gun primed but now its not??
ReplyDeleteIf I broke the stock, would it be possible to repair the rest of the gun?
ReplyDeleteThank you. I am about finished modifying mine. This helped me get it together. A few more detailing and it will be done.
ReplyDeletelost the springs know how to replace them?
ReplyDeleteI’ve screwed up my gun trying to get just the priming arms out. I didn’t even get it out, but broke half the gun trying to get it out...
ReplyDeletethis gun is utter crap
ReplyDeleteGreat guide! Appreciate the help!
ReplyDeleteThose dang priming arms! I hate them with a passion 😂. They were my biggest problem with taking apart my alphahawk
ReplyDelete